There are times when we have to drive at night. Our visibility reduces at night, and driving often becomes a concern. Fortunately, we’ve headlights that protect us from dangers on the road and getting into unwanted situations. Also, You would be penalized if you drive without headlights at night.
Behind the smooth working headlights lies the effort of the headlight globes. These globes wear out or damage over time, so headlight globe replacement would help you see things more clearly. Changing the globes is a very simple process and has been divided into steps for you:
Changing Headlight Globe: Step by Step Process
Follow the step-by-step process while changing and buy headlight globes after comparing the price. Buy the one that matches your budget and perform the following steps:
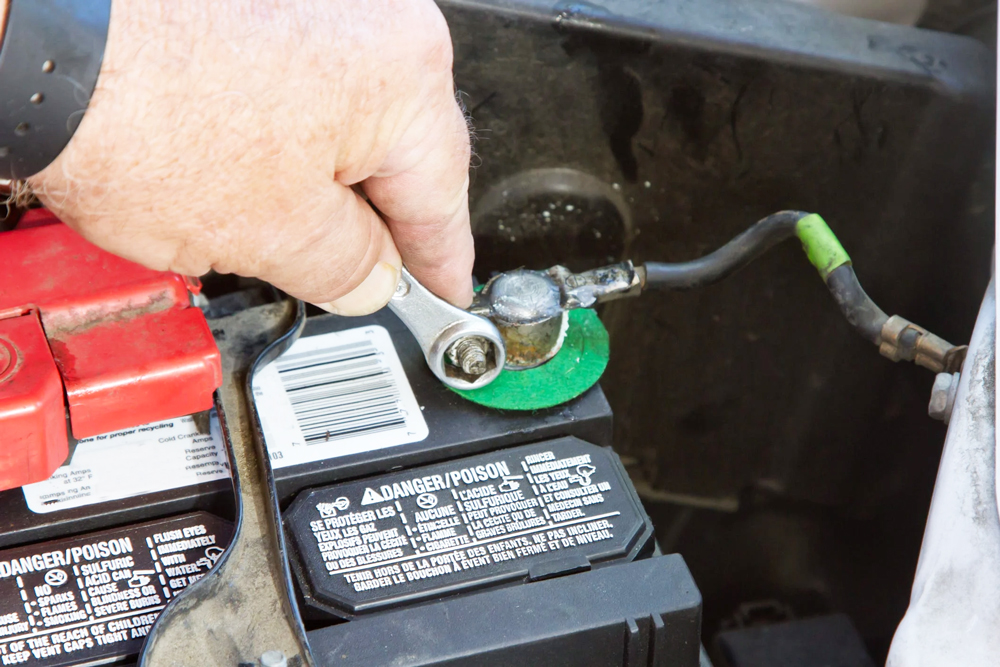
Disconnect the Battery

Start the process safely by disconnecting the battery. The battery can be disconnected after removing the black cable(negative) and leaving the red cable(positive) as it is.
Find the Headlight Holder

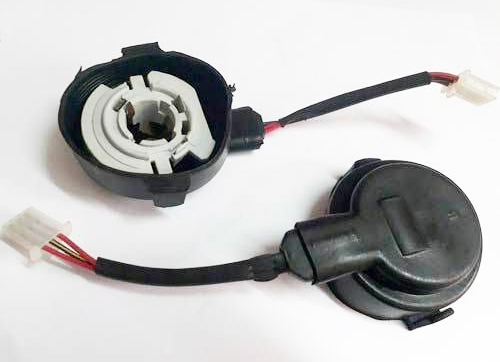
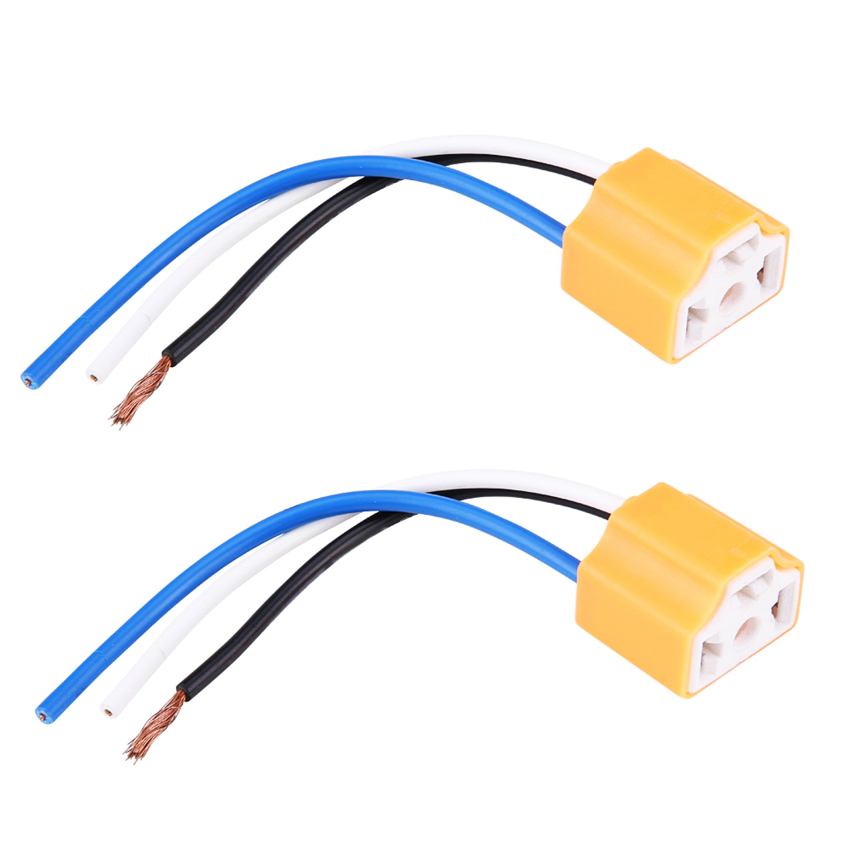
A headlight holder must be accessed directly via the engine compartment instead of the headlight. The holder is present at the front of the vehicle, just at the back of the headlight. You would also come across a power connector with three wires coming out from it.
Eliminate the Power Connector
Three wires that supply power to the headlight are attached to the plug at the back of the headlight. Try taking it out by undoing a catch or unscrewing it. The catch is made of plastic with a little lever that needs to be pressed or metal put upwards.
Remove the Old Globe
Accessing the globe won’t be a hassle once the wires have been taken out. Hold the base and take the old globe out. Try to rotate it a bit, and the globe will come out.
Invest in Right Replacement Globe

Remove the globe’s packaging. Avoid touching the globe’s skin directly. Take a tissue or a cloth and pick the globe using it. If you’re not sure which globe to buy it from, reputed online car parts and accessories store ‘The Auto Parts Shop’ and save money.
Install the New Globe
Hold the base and insert the new globe. The new one must be installed in the same way as the old one has been removed. Ensure that it’s properly fixed and the globe’s rubber gasket isn’t visible.
Try to Insert the Power Connector Again

The power connector must be inserted similarly to the old one that was removed. Make sure that it’s screwed or kept in place correctly.
Test the New Globe
Check the working of the new globe by turning the headlights on. If the light doesn’t illuminate, it’s time to look at the connections to ensure that nothing is loose.
The Bottom Line
Issues with headlight globes mustn’t be taken lightly and resolved as soon as possible. Ensure that you invest in top-quality globes to drive smoothly at night.
