The procedure for removing the rear drive shaft varies from car to car, but the steps remain the same. The drive shaft transfers engine power from one transmission to another and to the driver wheels
The drive shaft of a rear-wheel or four-wheel drive vehicle is carefully assembled and fitted with a perfectly uniform part that is used to supply power from the transmission to the rear center gears and then to rear tire and wheel. Connecting the two sections of the drive shaft is a central support bearing, a “U” shaped metal bracket and a solid-rubber machine on the inside. The bearing is designed to hold both parts of the drive shaft tight to reduce harmonic vibrations as the vehicle accelerates. Although its design and purpose are simple, changing the drive shaft center support bearing is not an easy task. Many DIY dynamics are the main reason to support the drive change center change due to the details related to the drive shaft integrity.
The procedure for removing the rear drive shaft varies from car to car, but the steps remain the same. The drive shaft transfers engine power from one transmission to another and to the driver wheels. There is a lot of reason to replace the drive shaft. In addition, the U-joint bolt often causes more problems than the rear drive shaft. Well, there is no rocket-science to carry out this mission; since your vehicle will not even move without the drive shaft, the procedures must be followed carefully.
So, when you see something wrong with the car’s power transmission, feel free to replace the drive shaft!
Let’s start with a step-by-step procedure to replace the rear drive shafts with some tools like hammer, ground jack and jackstays.
1. Trace the drive shaft and remove the bolts
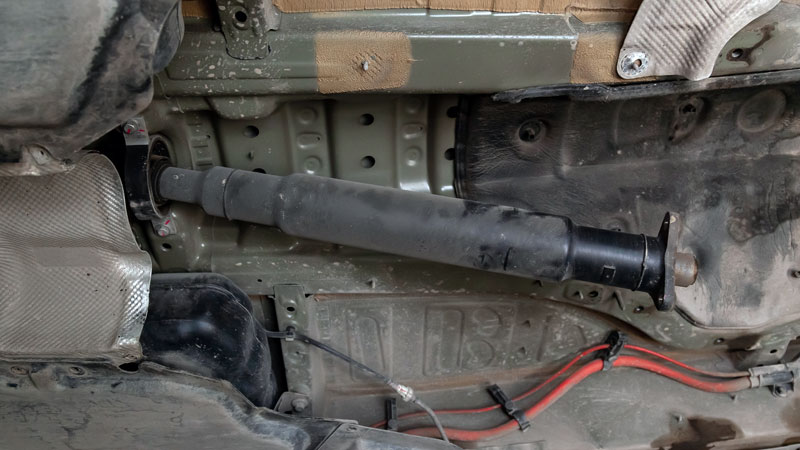
To learn how to remove the drive shaft, it is necessary to get a proper evaluation of the drive shaft before starting the process. Doing so eliminates driveline vibrations once the drive shaft is installed in the correct position. After locating the position, remove the projection mounting bolts and remove the shaft. Lock tights can be used to loosen some bolts while working. So, skip each game carefully.
2. Remove the edge of the drive shaft
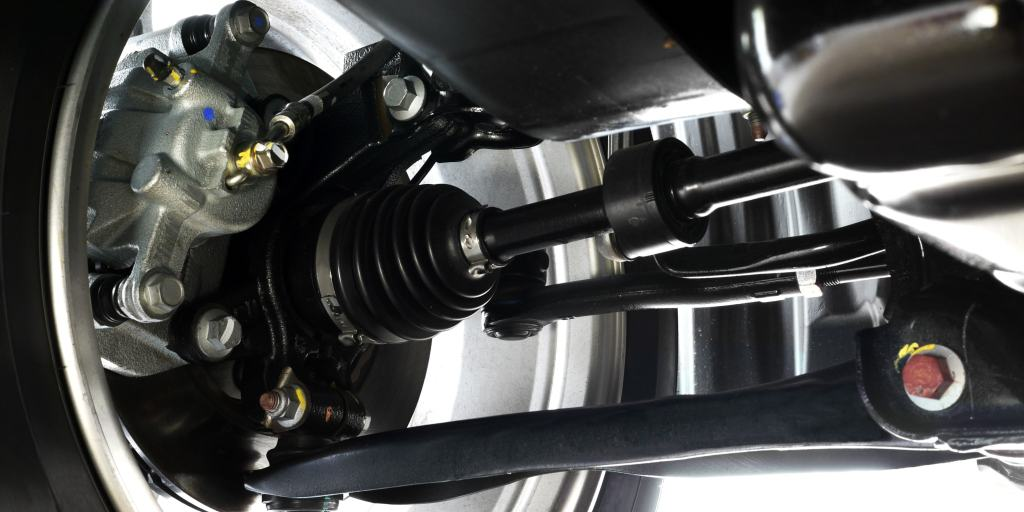
The edge of the drive shaft can be easily removed by gently stirring with a plastic hammer. This ensures that the back of the stem is half free and that the center support is removed to completely remove the stem edge. If you are dealing with an old car, take care of them as U joint roofs are likely to come out. In such cases, U-joint cups can be secured with electrical tape, as this is considered one of the best repair tips.
3. Confiscate the drive shaft
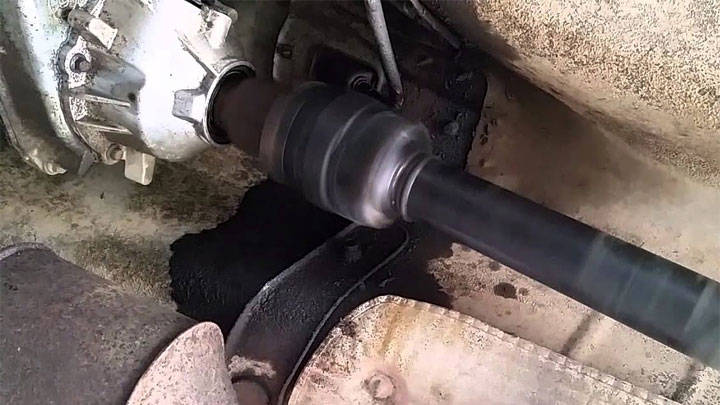
Now that the drive shaft is completely loose you can remove it from the car. Slide the drive shaft evenly from the transmission case with both hands. There may be some liquid leaks, so it is a good idea to set up a liquid basin or collector on your side. At this point, you can also repair leaked transfer tails or universal joints. Inspect the U joint for any defects or damage. Move the U limb in all directions and check its movement and sensitivity. Any force will lead to joint restoration.
4. Reinstall the drive shaft and other components
The final step is to reinstall the new drive shaft, but before proceeding further, grease the wood slightly and the shaft will work properly. Carefully place the drive shaft in the marked position. Also reinstall the flange bolts. Make sure everything is detected and complete the installation. Now, using these methods you can carefully and accurately remove the drive shaft.
Final verdict
The process is not easy, but all precautionary measures are followed. So, grab your tools and get started now!