Rocker panels are located low on the blindfolded body so that they can be ignored when washing the vehicle
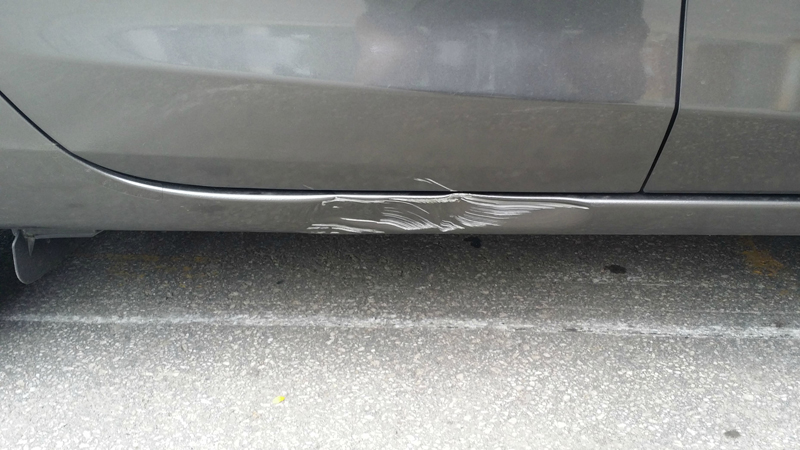
A rocker panel is a sealed piece of steel that is an integral part of your car’s anatomy. Rocker panels are also located on the sides of the vehicle between the fronts and rear wheel well openings, below the door. In fact, whenever you enter and exit you raise their feet. Aside from the roof support, it is the only part of the frame that attaches to the front and rear of your vehicle. In this blog, we will look at the role of rocker panels in your car, why it is formed and if more details come out at that time then look at the best options for replacement rocker panels.
Rocker panels are located low on the blindfolded body so that they can be ignored when washing the vehicle. In many sporty cars with a downward curve, the car’s hinges can completely lose these parts. When OEM pieces of plastic or metal trim decorate the vehicle, they are often placed on top of rocker panels – usually preventing cleaning efforts from effectively removing accumulated moisture, and debris.
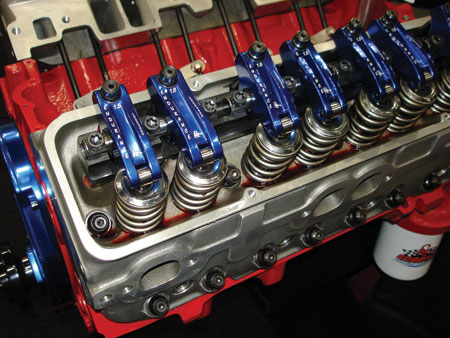
When you hear a fast ticking sound from the engine, there is a problem with the rocker arms. Mostly, ticking noise occurs because the engine oil level is low. If you check the oil and the ticking sound continues, you have a problem with one or more rocker hands and need to replace the issues with the problem. Changing rocker hands doesn’t take long, and you can finish a project on your driveway.
Step 1
Open the engine compartment of the automobile and disconnect the negative battery cable. Remove the id mark from the air cleaner assembly and remove the air filter. Remove the retaining nut with the socket and ratchet and remove the assembly from the machine. Label each spark plug wire using a marker and masking tape.
Step 2
Hold the spark plug wire by the boot and pull each wire out of the spark plug. Do not pull through the wire or you will damage it. Remove the wire from the tripping clips and exit your way. Unscrew the throttle cables from the throttle body. Using a wrench remove the cable plug from the intake and put it out.
Step 3
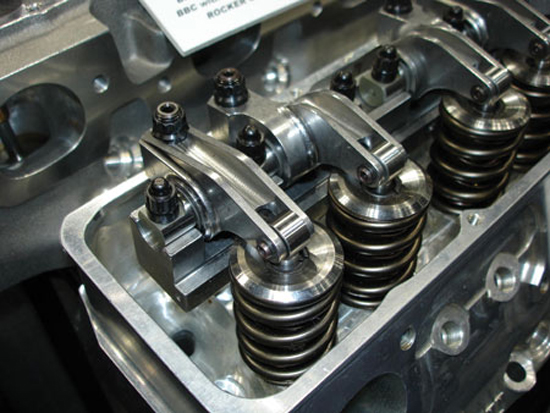
Remove the bolts from the valve cover using a socket and ratchet. Lift the valve cover from the head of the cylinder. Remove the nuts from the affected rocker hand using a socket and rake. Remove the ball and rocker arms from the head of the cylinder. Remove the valve cover gasket and discard it. Scrape off any remaining material with a scraper.
Step 4
Install new rocker arms and tighten the nuts with a torque wrench up to 22 feet. Install a new valve cover gasket on the cylinder head. Place the valve cover on the new gasket. Install bolts and fasten them with sockets and ratchet. Install the cable clamp on the throttle on the intake plenum and tighten it with a wrench.
Step 5
Connect the throttle cables to the throttle body. When removing each spark plug wire insert it into the appropriate spark plug according to the labels you created. Press each wire through the boot. Attach the spark plug wire with trim clips.
Place the air cleaner on the engine and secure it by tightening the nut with a wrench. Place the air filter inside the enclosure and place the lid in that position. Connect the negative battery cable and tighten the terminal nut with a wrench.