The heater core is located in the center of the radiator, which consists of two valves connected by “in” and “out” pipes
Regularly, the car heater core should be cleaned to remove debris and dirt within a few months of daily use. Avoid doing this, as over time your heater will cause core problems. Since this is not a job that requires a high level of mechanical knowledge, most car owners can do it themselves. If done correctly, it should not take more than an hour to complete.
What tools and equipment do I need to remove my heater core?
There are several tools to flush your heater core:
Pliers and screwdriver–
Use these to loosen the pipe clamps.
Collector Pan–
It captures the old air conditioner from the heater core.
Garden hose-
Helps to lock the heater core
The second hose–
This leads to the flow of water from the heater center during the flushing process.
Why should I flush my heater core?
The heater core is located in the center of the radiator, which consists of two valves connected by “in” and “out” pipes. These tubes allow water to enter, circulate and exit the radiator from the center of the heater. So remove them so that water can escape through the center.
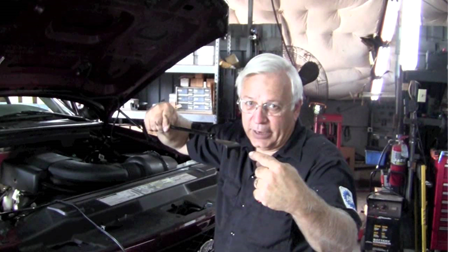
How to flush the heater core in 10 simple steps
After removing the dashboard and gaining access to the heater core, remove the clamp on the “in” tube with pliers and a screwdriver. Different car models vary depending on the process here you may need to access your vehicle manual if you do not know. There are some basic steps to flush a heater core:-
- Disconnect the “in” pipe.
- Do the same with the “out” pipe.
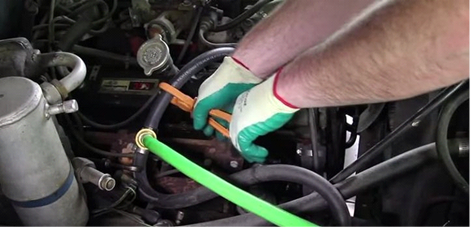
- Connect the garden hose to the “in” side, place the collector pan on the “T” side and hold the used air conditioner.
- You may want to attach a second long pipe to the “out” side to make the refrigerator work better in the frying pan.
- Drive the water through the core until clear. The length of time here varies depending on the size of the structure in the middle.
- Turn the hose “outside” and drive the water in the opposite direction to make sure everything is caught and expelled.
- If you are satisfied that the heater core is fully discharged, reconnect the “in” and “out” pipes and reconnect them.
- Turn on the engine to start re-inserting the refrigerator in the middle. It should start spreading naturally again.
- If the room experiences a leak or the heating does not work, it means something has gone wrong and you should contact a mechanic.
- You may want to increase the cooling level to replace anything lost during operation.
When it comes to mechanical knowledge, it is only difficult for you to separate and connect the pipes. However, the rest of the work is easily accessible to everyone from beginners to professionals, you can ask for a garage to do it for yourself and it will be much cheaper to do it yourself.